

404
oops! you’ve taken a wrong turn.
Dont worry - Even the best drivers miss a stop. Let’s get you back on the right route.
Quick Access
Have questions or need help planning your trip? Reach out to us for fast and dependable assistance.
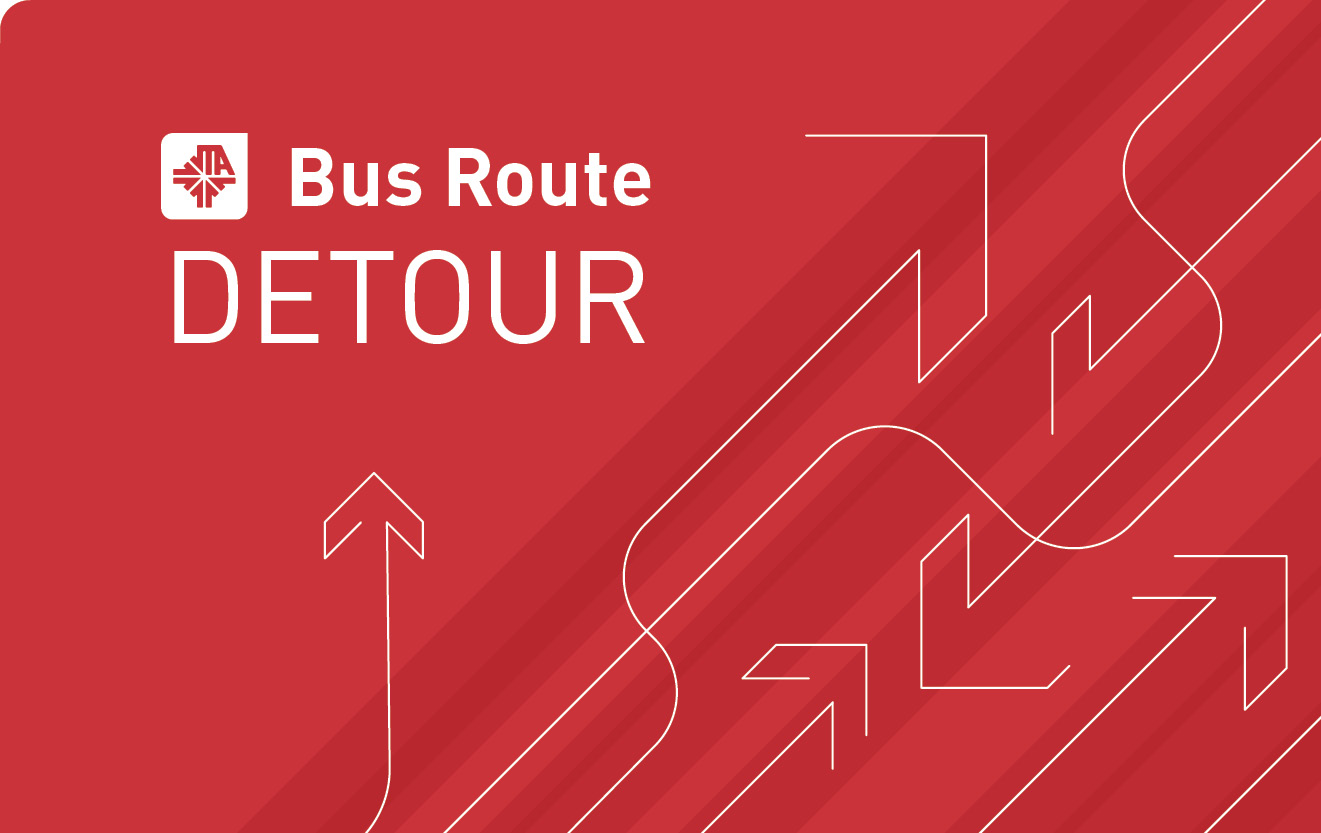
View all of the current detours in effect for our bus routes.

Stay updated with the latest service changes, enhancements, and interruptions.
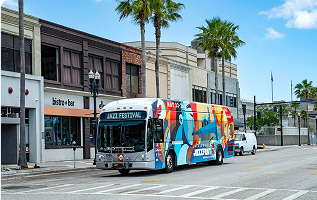
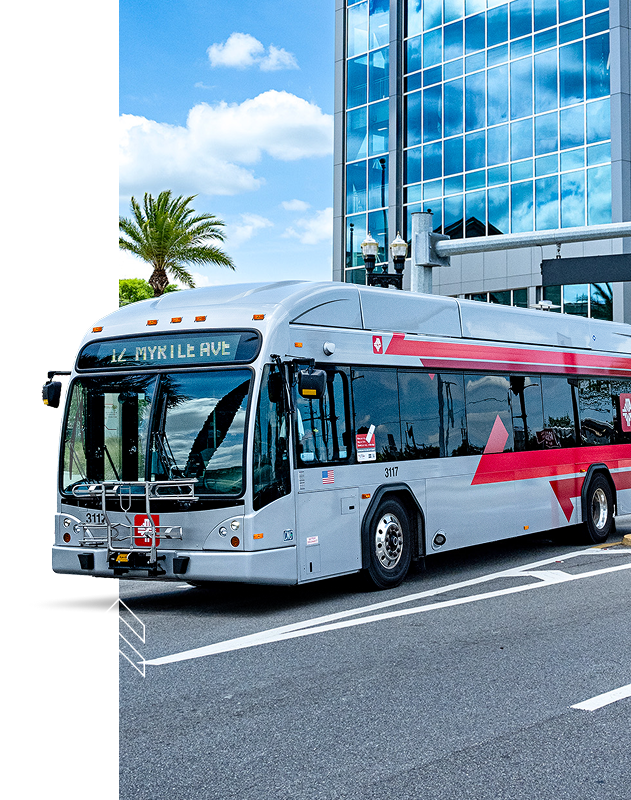
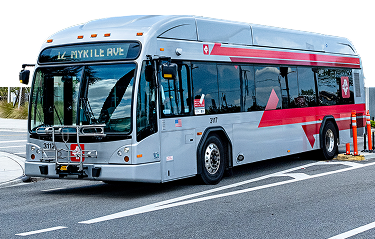
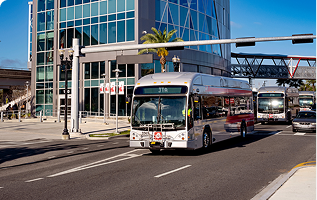
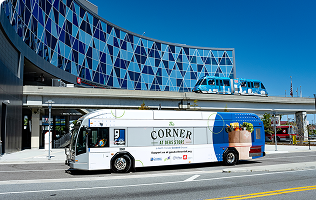
Explore JTA's fixed-route bus services with detailed schedules and stops, ensuring reliable transportation across Jacksonville.
Discover JTA fare options and passes, including discounts for seniors, students, and frequent riders.

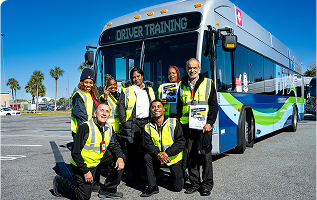
Join our diverse team, enjoy competitive benefits, and contribute to Jacksonville’s transportation future.
Discover a world of transit options that adapt to your life—not the other way around.
Explore JTA's fixed-route bus services with detailed schedules and stops, ensuring reliable transportation across Jacksonville.
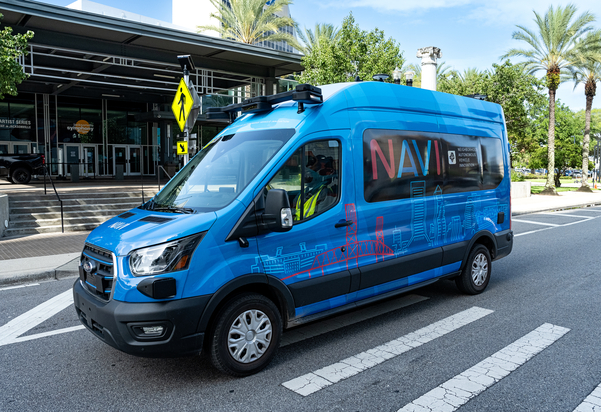
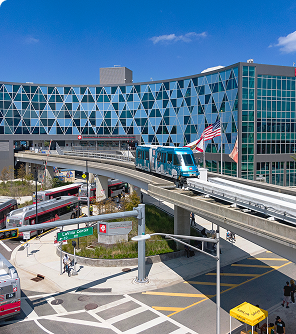
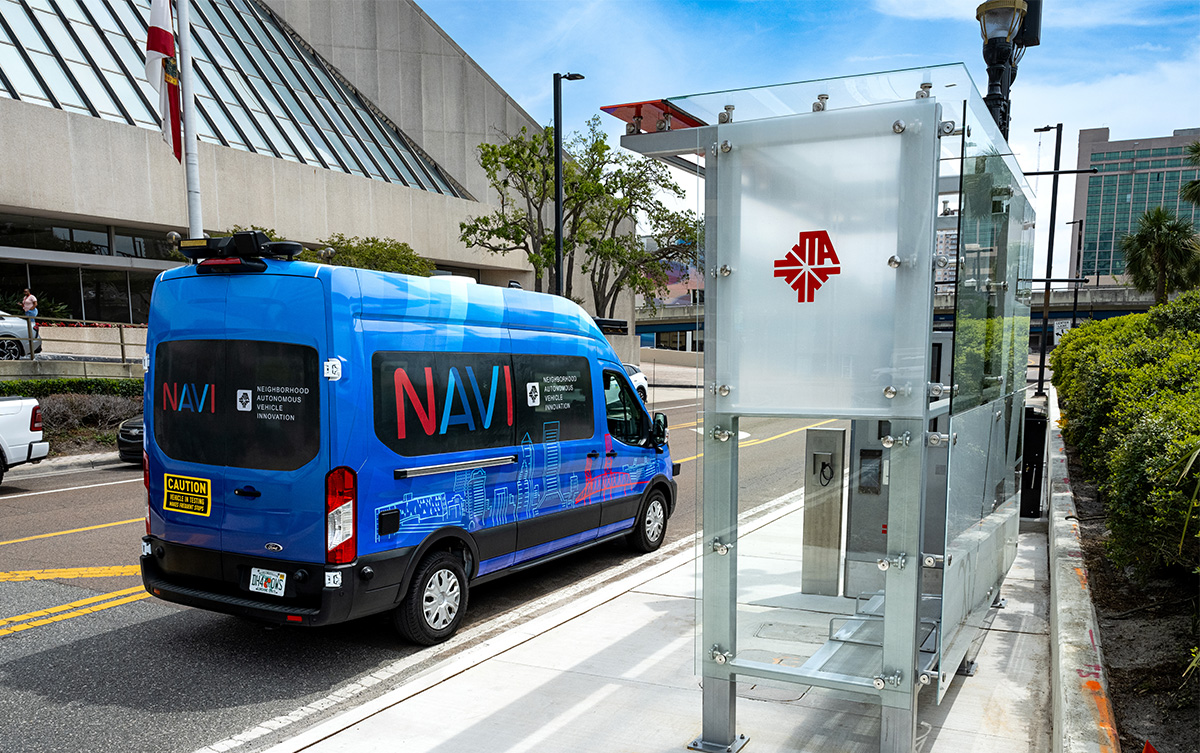
NAVI will be the first fully autonomous public transportation system network in the United States.

Reliable ferry service across the St. Johns River.
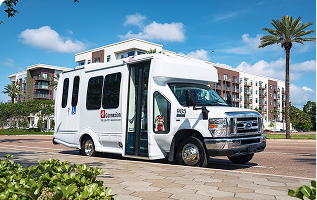
Accessible transportation for individuals with disabilities.

Flexible, real-time ride requests within Jacksonville.

Explore everything you need for a smooth, safe, and convenient ride with JTA.

Plan your trip with real-time updates and easy route options.

Stay informed with real-time weather updates affecting JTA services.

Receive real-time updates on service changes, delays, and disruptions.

Dive into our initiatives driving innovation and progress.
Learn all about the future of transportation in Jacksonville.

$490 million dollars invested in our community over 30 years.
We are at the forefront of shaping the future of mobility in Northeast Florida.

Keeping The Public Informed About Official Board Actions and Notices

Stay informed about JTA's public hearings and important updates on policies, projects, and community involvement.
Access financial reports and submit public records requests to promote transparency and accountability.

Meet the leadership driving JTA's mission to improve mobility and transportation across Jacksonville.

Get the latest news, events, and media coverage from JTA.
Explore career opportunities at JTA and be part of Jacksonville's growing transportation future.
The JTA's Procurement department is responsible for the procurement of all commodities, services, professional services, real property, construction, and any other goods or services for the JTA.

Discover business opportunities with JTA to support Jacksonville's transit development.
Advertise on JTA's buses, trains, and digital platforms to reach thousands daily.